Setup Email Sending in Gmail
Step 1 - Click on the Settings Cog
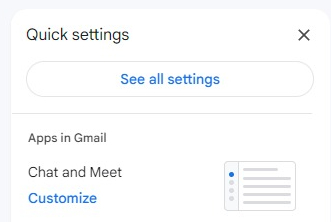
In the upper right of your Gmail account there is a big Cog icon, click it.

Step 2 - Click on See all Settings
Step 3 - Click on Accounts and Import

Step 4 - Click Add another email address
You will find "Add another email address" in the "Send mail as" section.

Step 5 - Fill the fields in the popup window
Name : set to what you want the name to be, this should be "<temple name> Temple" for temples or your saber guild council position.
Email address : Set this to your official Saber Guild email address
Treat as an alias : Leave this checked unless you know what you are doing
Click Next

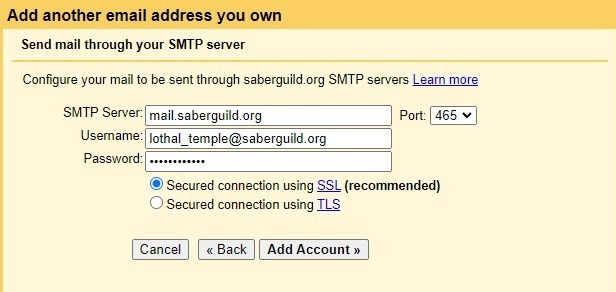
Step 6 - Set the values for the Saber Guild mail server
SMTP Server : Should have automatically been set, make sure it is mail.saberguild.org
Port : Set to 465
Username : The full email address for your @saberguild.org email account
Password : Will have been sent to you separately.
Secured connection using SSL : Selected
Click on "Add Account"
Step 7 - Verify you own the account
For this step, you will need to log into your Saber Guild email account directly.
Go to https://saberguild.org:2096
Use your full email address and the password to log in.
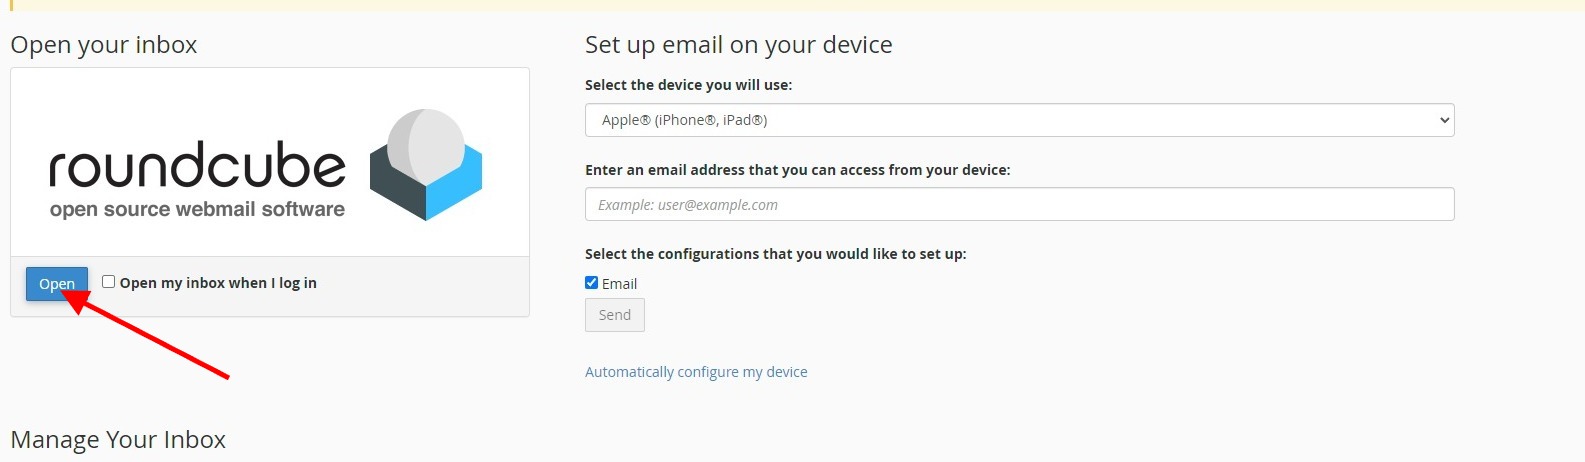
Step 8 - Go to your Inbox
When you log in you will be given a somewhat confusing page, just click on the "open" button on the left side to go to your inbox.
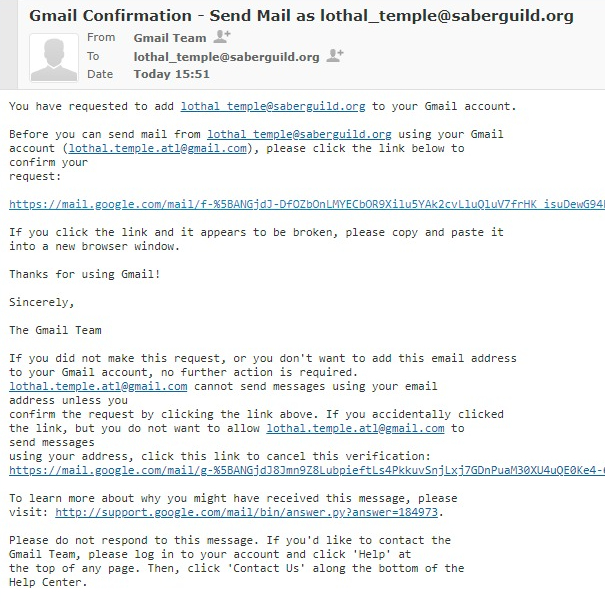
Step 9 - Find and use the verification email
The email should have the subject like 'Gmail Confirmation - Send Mail as [email protected]'
Open this email and click on the Confirm your request link.
Step 10 - Click the Confirm in the new page the opened
You will be presented with a Gmail Confirmation page with a button that says "Confirm", click this and you are done!
Step 11 - Try it out - Send a mail as your new account
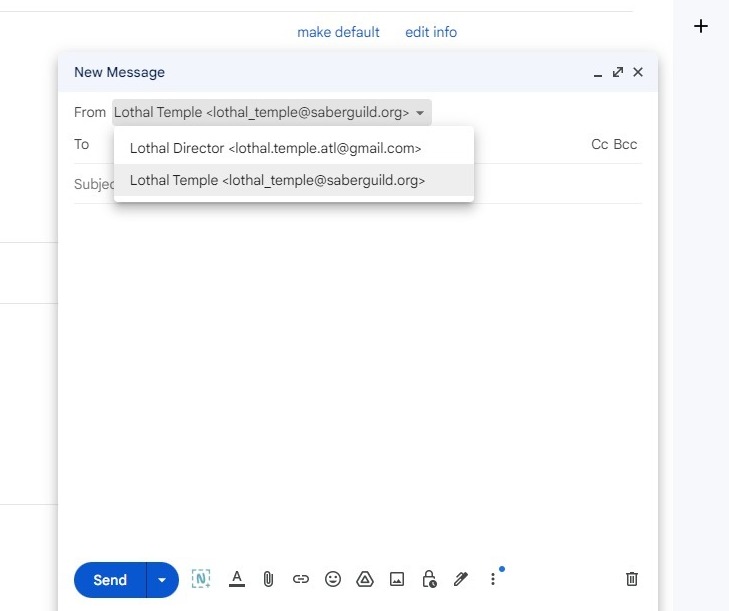
Go back to Gmail and click on Compose. In the Compose window click on the down arrow next to "From" at the top to see your new email address!
Now you can set your "To", "Subject" and a message and away it should go but now as your new account!